Follow these simple steps to get your furnace ready for winter
Before sliding that thermostat dial to your comfort zone this winter, take a quick tour of your home’s heating system. As a homeowner, it’s a fair bet that you’re familiar with its equipment. Though you may not be an HVAC certified professional, the simple chores of owning a home may be second-hand stuff to you by now. Your furnace or heating system is one of the more complex components of any average home, however.
Fortunately, there are some simple steps you can take to inspect a furnace. This precaution is a best practice for anyone who relies on a furnace for heat. More often than not, an easy, quick inspection can reveal potential issues that could be serious.
Step 1: Visual inspection
A focused look-see will be the initial part of any inspection. First, be sure to flip off the main power switch. Then, remove the main cover and take a look. Even if you’ve never seen inside your furnace, checking for anything that’s out of place should be obvious for the most part. For starters, make sure the area around your furnace is clear of obstructions that might block vents or be a fire hazard.
Another issue that might be present is dust. We don’t recommend sticking a shop-vac hose into the inner workings of your furnace, but rather using a puff of canned air (commonly used for dusting off computers). This should do the trick and can usually be purchased at any office supply store, or even a hardware store.
Step 2: Clean or replace the filter
If the filter is beyond cleaning, grab one of the replacement filters you have stored near your furnace and stick in a new one. Do you not have extra filters? Not to worry, nearly every type of furnace filter can be purchased at the same hardware store you got the canned air from.
If the filter looks good, you’re golden. If it appears mildly dusty, then a shop-vac may be used. If you don’t have a shop-vac, sometimes a good stiff brush can, at the very least, extend the life of a quality filter. Take it outside and brush it off.
Step 3: Double-check first two steps
You’ve dusted out the interior and replaced the main cover. You’ve replaced the filter properly. Before flipping the power switch back to the on position, make certain you’ve replaced the cover and filter properly. Double checking is what professionals do. With the cover and filter secured and checked, flip that switch to the “on” position. It’s really that simple.
Step 4: Clean the ductwork
Cleaning the accessible duct-work is always a good idea, and you may be one of those who do it regularly. A puff of dust into your living area is, unfortunately, a part of life. Outside of a professional service that specializes in vent cleaning, there’s little you can do about the ever present dust in our lives and homes.
Also, check to make sure that the registers in each room is free from any obstructions and move registers to the open position — even in unused rooms – for maximum efficiency.
You’re ready to heat!
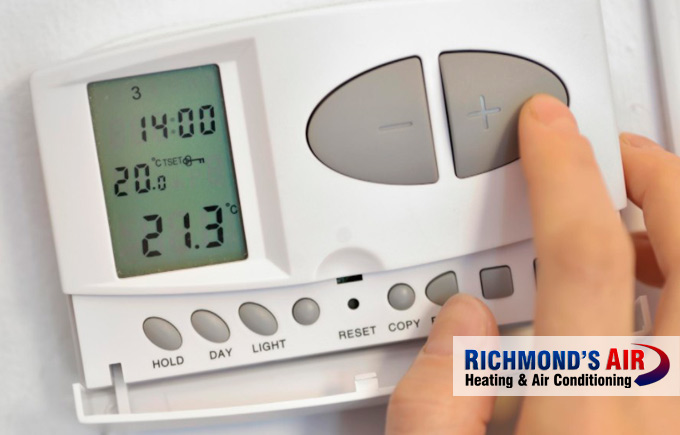
Now it’s time to set that thermostat to your comfort level. You may not be near your furnace when it fires up, but there may be a slight burning smell initially. This is normal for a furnace that has been sitting idle all summer.
When you start your furnace for the first time of the season, pay attention to the sounds. If everything sounds familiar, again, you’re not only golden, but toasty as well.
Should there be anything out of the ordinary, scheduling a professional inspection will be necessary. Even if you have an uneasy feeling about something, it’s best to err on the side of caution, and make certain everything is functioning properly.
 Read reviews


